Introduction #
In this tutorial we will be looking at how get started with ESP32 development on Windows. We will be installing the Espressif IoT Development Framework (esp-idf), building a simple Hello World application and then programming it to an ESP32 development board. For this tutorial you’ll need:
- Windows PC
- with Python v3 installed
- Any ESP32 development board
- We will be using the ESP32-S2-Saola-1
ESP-IDF Installation #
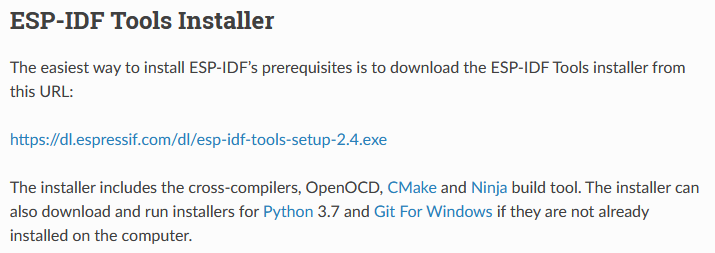
Let’s start by installing ESP-IDF, which we’ll do by using Espressif’s ESP-IDF Tools Installer:
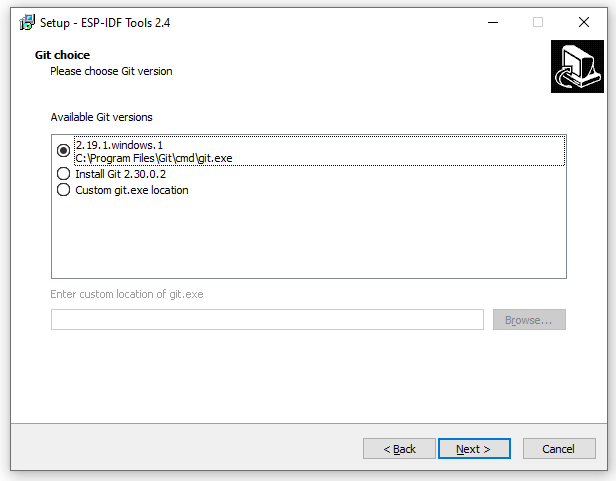
Open up the installer we just downloaded and accept the license agreement and after the pre-installation system check, click Next. Start by either selecting an installation of Git on your system (as is the case for us), or select Install Git if you don’t already have it installed:
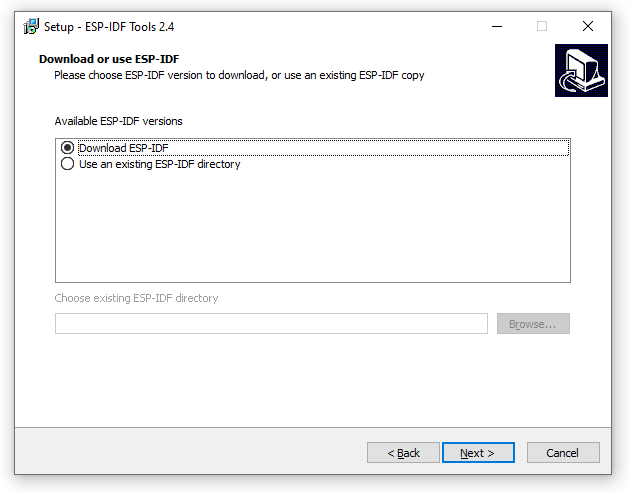
Click Next and Select Download ESP-IDF:
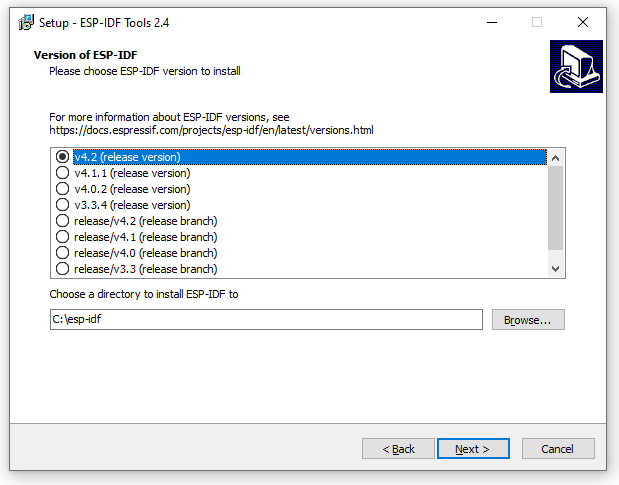
Click Next again and select the latest release version of ESP-IDF and select a location to download it to. We’ll be downloading version 4.2 to C:\esp-idf:
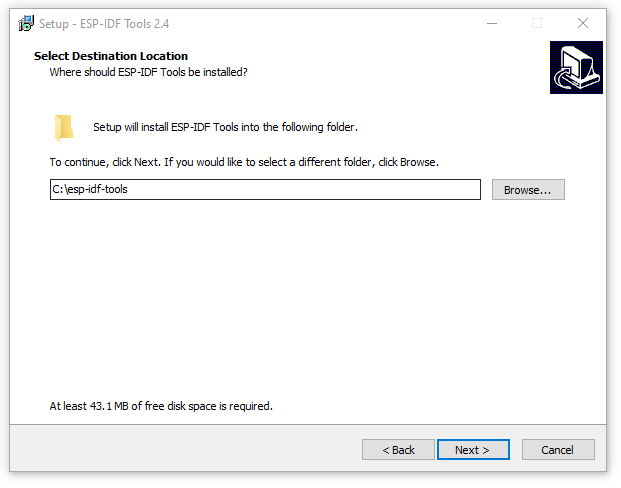
Click Next and select a location to install the ESP-IDF Tools, we’ll be installing to C:\esp-idf-tools:
Click Next and select any shortcuts you’d like to create, leave Optimisation turned off and click Next. Finally we’ll get a summary of what we’re going to install:
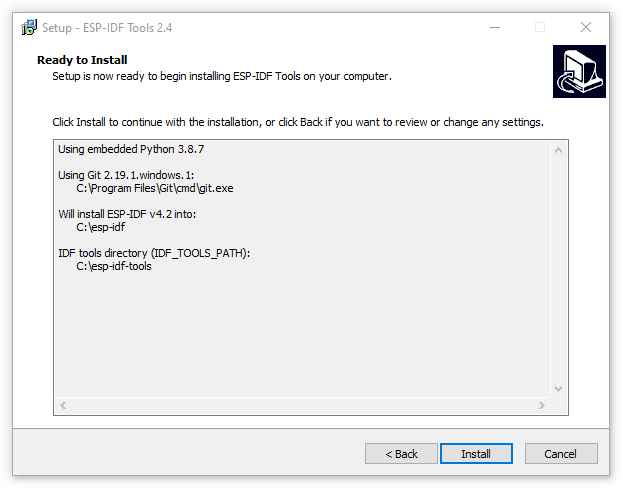
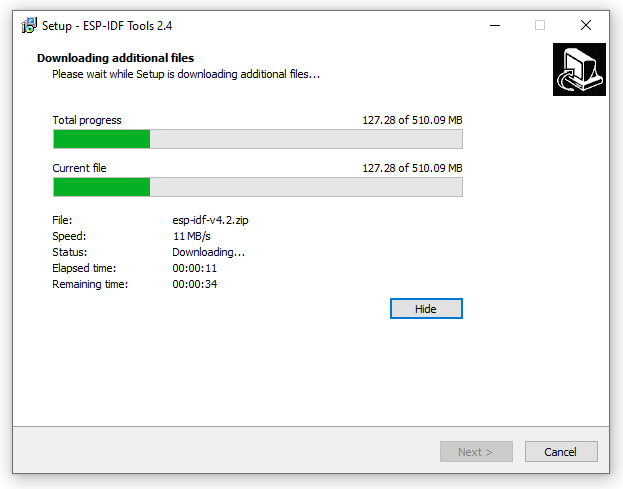
If you’re happy with everything then click Install:
ESP-IDF Configuration #
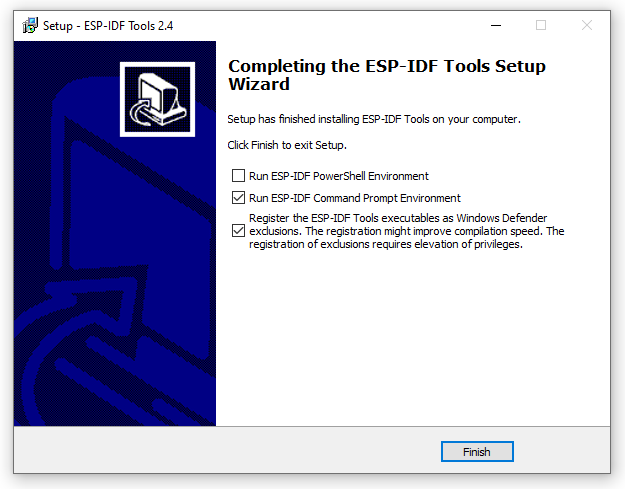
Once installation is complete, ensure Run ESP-IDF Command Prompt Environment is selected and click Finish:
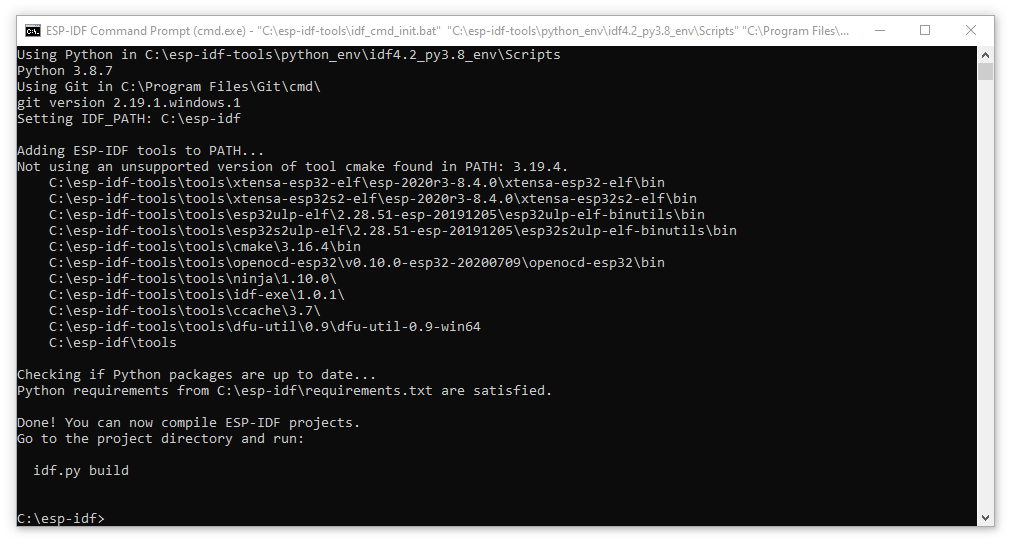
The command prompt will open and automatically add our ESP-IDF tools directories to the system PATH:
Example Build – Command Line #
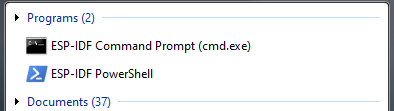
Now that we have everything setup, let’s build our first project from the command line. If you close the ESP-IDF Command Prompt and want to get back to it later, just find it in your Start Menu:
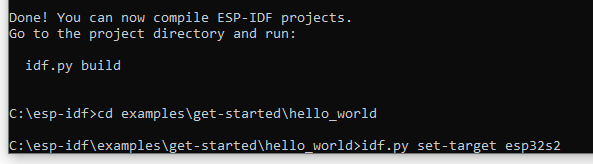
Navigate to examples\get-started\hello_world and if you are using an ESP32 skip to the next step. If you are using an ESP32-S2 like us, type: idf.py set-target esp32s2
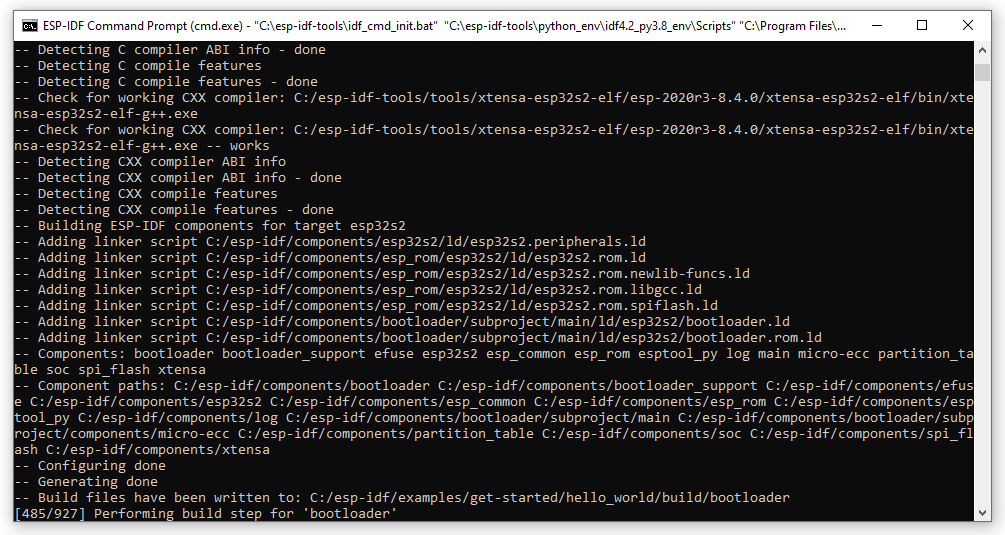
Once done we can now build our project, so type: idf.py build
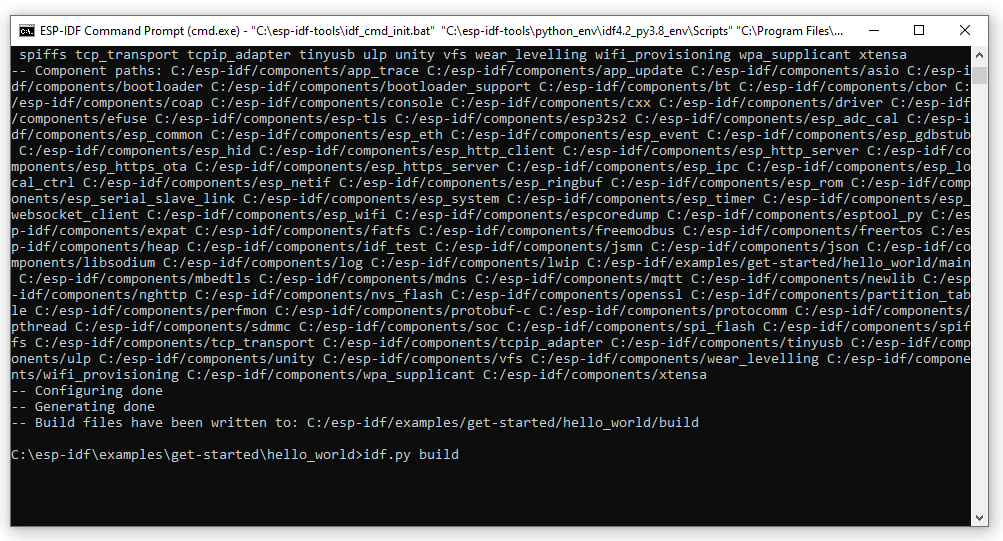
Then wait for the project to build, this will take a few minutes:
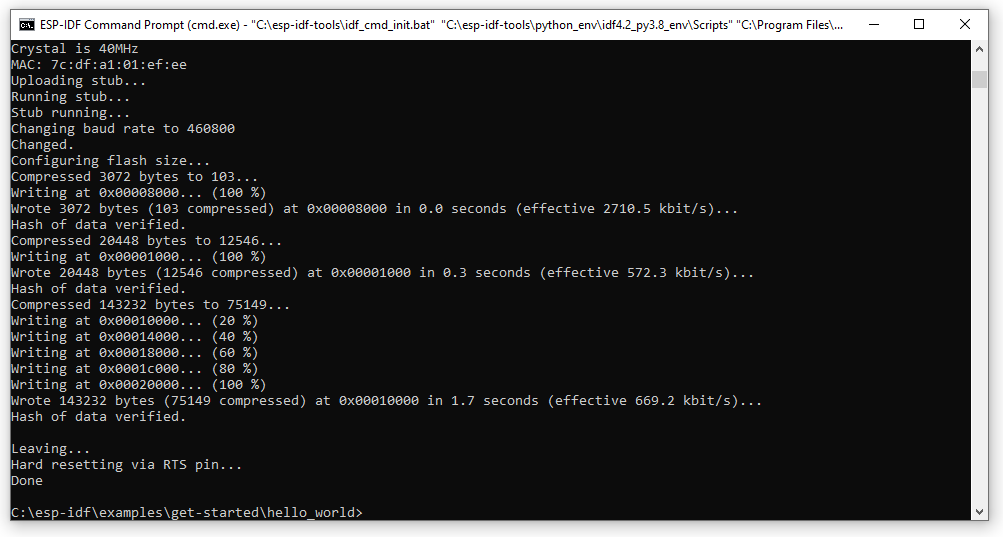
Once complete we can then flash our example project by typing idf.py -p (PORT) flash where PORT is your the COM port of your ESP32 device, in our case this is COM15:
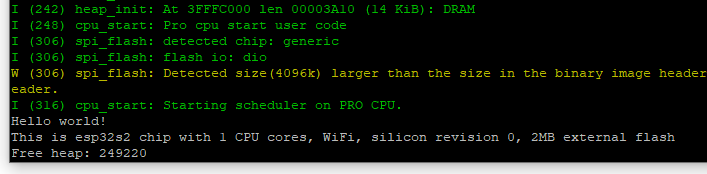
Now open up a serial terminal and connect to your ESP32 device with a baudtrate of 115200 and you should see Hello World outputted after the device starts up:
Example Project Config #
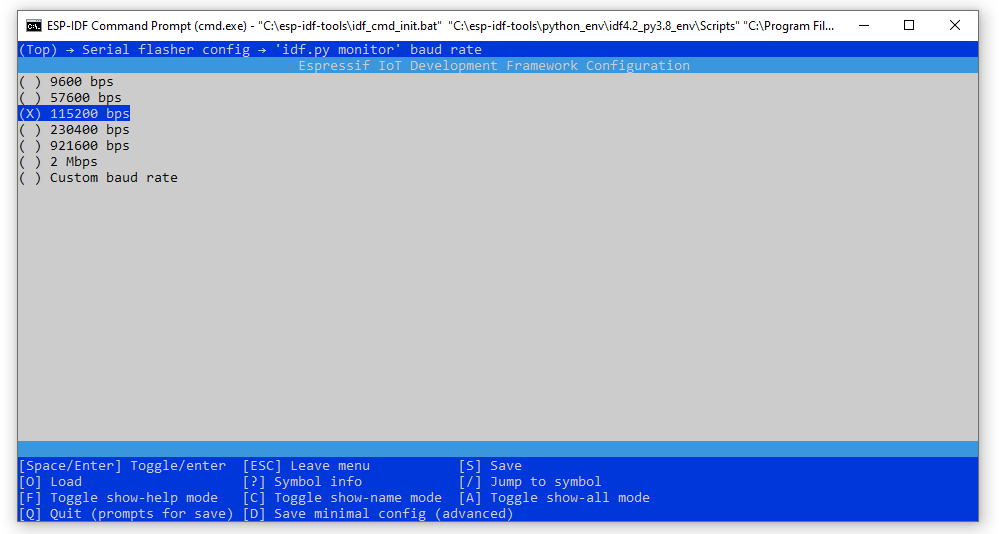
If you want to alter the baud rate of the serial output, Type: idf.py menuconfig
Then head to Serial Flasher Config > ‘idf.py monitor’ baud rate and change the baud rate to your preferred speed:
Press Q on your keyboard to quit and press Y to save the configuration as we leave. Now we can re-build and re-flash. Type: idf.py -p (PORT) flash
Note that the flash command will automatically build the project again if needed.


