
Introduction #
In the last tutorial we installed the ESP-IDF Tools and everything needed for ESP32 development on Windows. If you haven’t already been through these step then go back before continuing on with this tutorial.
In this tutorial we will be installing Visual Studio Code on Windows along with the ESP-IDF extension so that we can develop and program our code using a nice IDE rather than through the command line. For this tutorial you’ll need:
- Windows PC
- Any ESP32 development board
- We will be using the ESP32-S2-Saola-1
Install Visual Studio Code #
Let’s start by installing Microsoft Visual Studio Code, download it from here:
Once downloaded follow the instructions in the installer until complete; we can then open up Visual Studio Code and install the ESP-IDF extension.
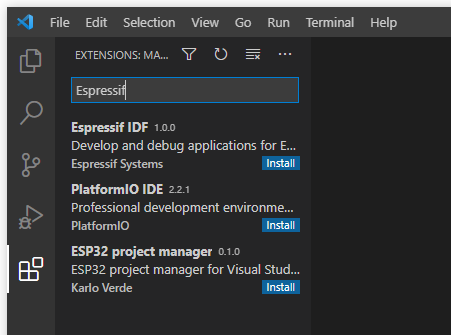
Click on the Settings icon in the bottom right and click Extensions:

From there we need to search for Espressif:
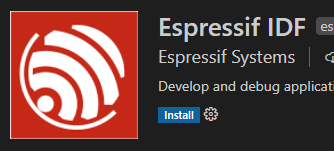
Click on Espressif IDF and Install:
Once done, we can close Visual Studio Code.
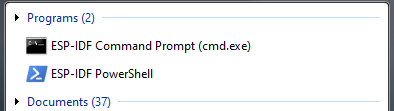
Building an Example Project #
The easiest way to use Visual Studio Code for Espressif development is to launch it from the ESP-IDF command prompt. So let’s start by opening this:
And type:
code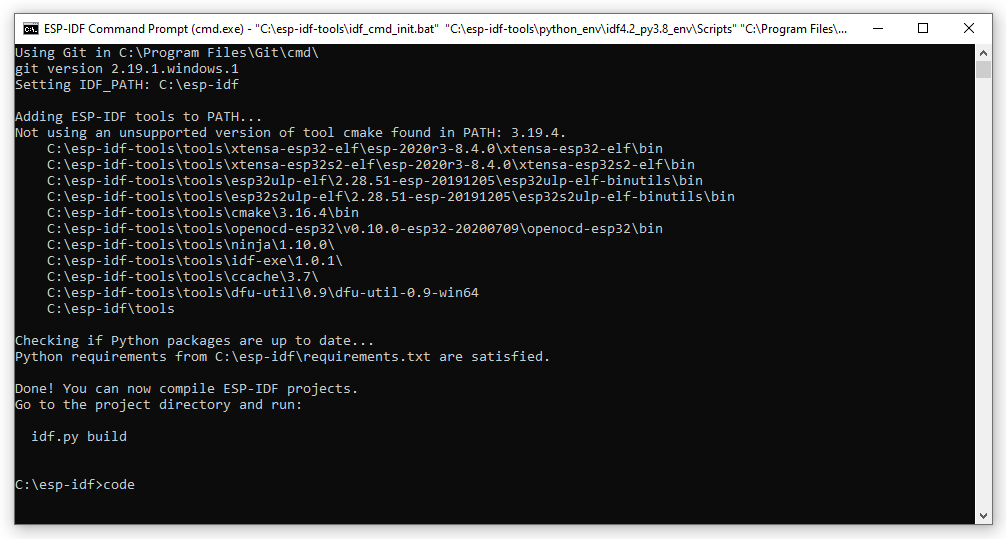
Once Visual Studio Code opens, click File > Open Folder:
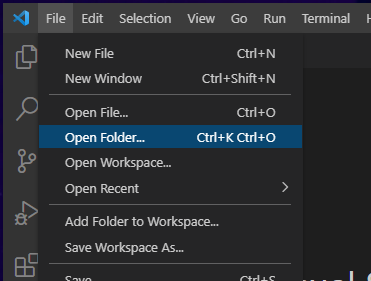
Navigate to C:\esp-idf\examples\get-started\hello_world and click Select Folder.
Project Configuration #
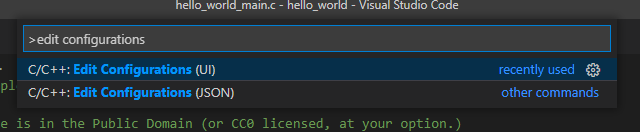
Once opened, click View > Command Palette and type Edit Configurations (UI):
We now need to alter the compiler path to use our ESP32-S2 GCC compiler:
C:\esp-idf-tools\tools\xtensa-esp32s2-elf\esp-2020r3-8.4.0\xtensa-esp32s2-elf\bin\xtensa-esp32s2-elf-gcc.exeNote that if you’re not using the ESP32-S2, but the ESP32, your compiler path should be set to:
C:\esp-idf-tools\tools\xtensa-esp32-elf\esp-2020r3-8.4.0\xtensa-esp32-elf\bin\xtensa-esp32-elf-gcc.exe
Your compiler version may differ from the examples presented here (esp-2020r3-8.4.0), so you’ll need to check the directories on your system to ensure you set the correct compiler path.
We also need to set the IntelliSense mode to:
windows-gcc-arm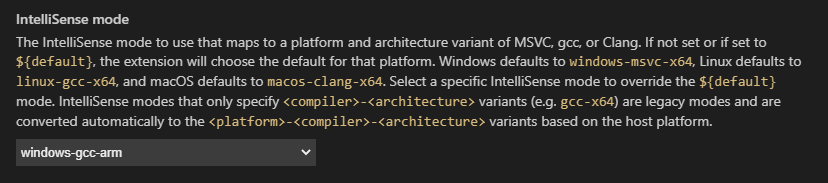
and finally we need to set our include paths to:
${workspaceFolder}/**
${config:idf.espIdfPath}/components/**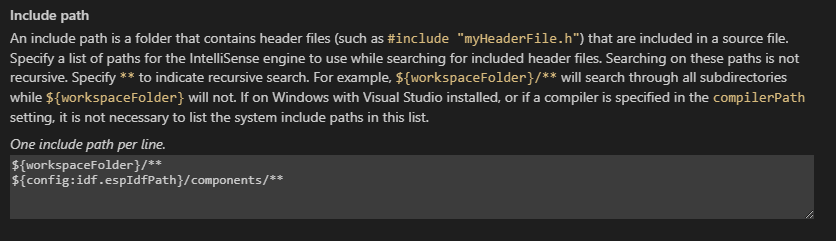
We can now close the C/C++ Configurations tab. We don’t strictly need to do any of this as our project will compile without any issue if we didn’t, however if we skip this step, Visual Studio Code will continually show us false errors that make finding real errors in our code much harder.
Open hello_world_main.c and once again go to View > Command Palette and type Set Espressif device target:

then select the either ESP32 or ESP32-S2 depending on the device you’re using:

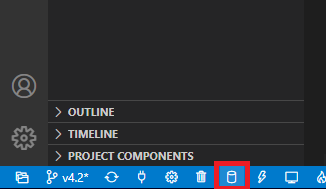
Build #
We’re now ready to build the example project, so click the build button in the bottom left of the window:
or open the Command Palette and type Build your project:

Flash #
Once the build has completed we can flash the example project to our device. Open the Command Palette and type Select port to use:

and then select the COM port that your ESP32 device is attached to, we can then flash our example project to the selected device. Either click on the flash button in the bottom left of the window:

and then select UART when prompted. Alternatively, open the Command Palette and type Flash (UART) your project:

Monitor #
Once our example project has been flashed to the device, let’s open the serial terminal to see the results. We can either click on the monitor button in the bottom left of the window:
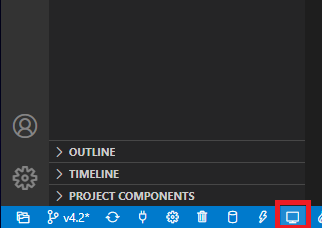
or open the Command Palette and type Monitor your device:

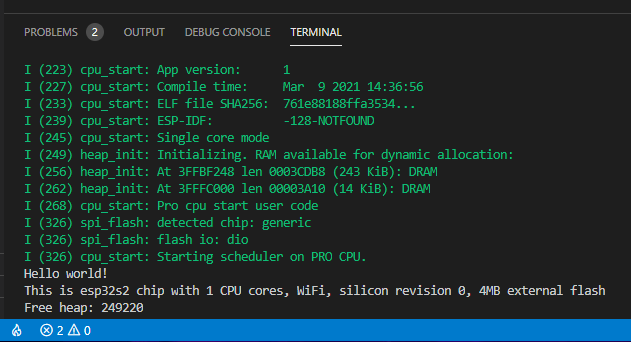
This will then open a serial terminal from within Visual Studio Code and show you the output of our example project:
Conclusion #
In this tutorial we setup Visual Studio Code as an IDE for developing Espressif projects and we looked at how to compile and flash them. If you had any issues getting your board up and running then get in touch and we’ll help out.


