Introduction #
In this tutorial, I’m going to show you how to configure AWS IoT to allow you to get connected with your IoT device.
Register your MCU Board with AWS IoT #
Before your board can communicate with the AWS Cloud, it must first be registered with AWS IoT. For this to work we need the following:
- AWS IoT Policy
- This grants your device permission to access AWS IoT resources.
- AWS IoT Thing
- This is the configuration of your device that’s shown in AWS IoT, every device you have connected to AWS IoT must have an associated thing.
- Private & Public Key Pair
- These keys are used to authenticate your device with AWS IoT.
Create an AWS IoT Policy #
Let’s start by creating the policy that will decide what permissions your devices will have when accessing AWS IoT. We first need to get our AWS account number and AWS region.
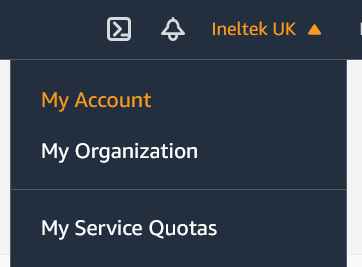
In the AWS Management Console, select My Account from the account drop down menu in the top right corner of the page:
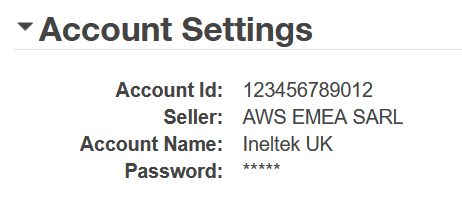
From there we can get our Account ID:
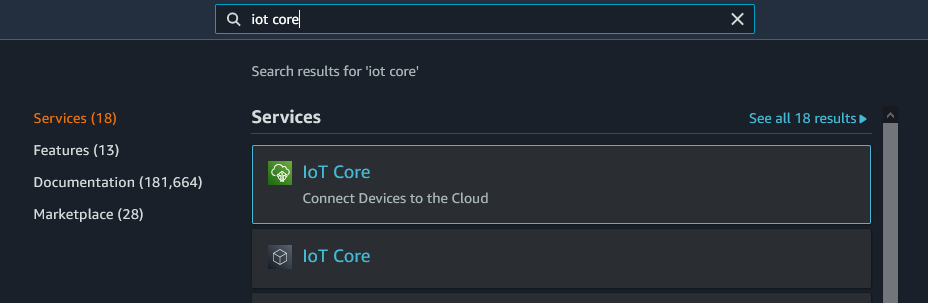
Next go to the AWS IoT Console by typing IoT Core into the search bar at the top and selecting IoT Core:
In the top right hand corner of the page we can see the region we are currently using:
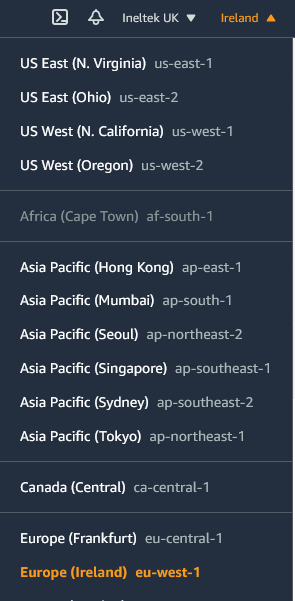
In my case I am connected to Europe (Ireland), but we need to note down the correct endpoint name: eu-west-1.
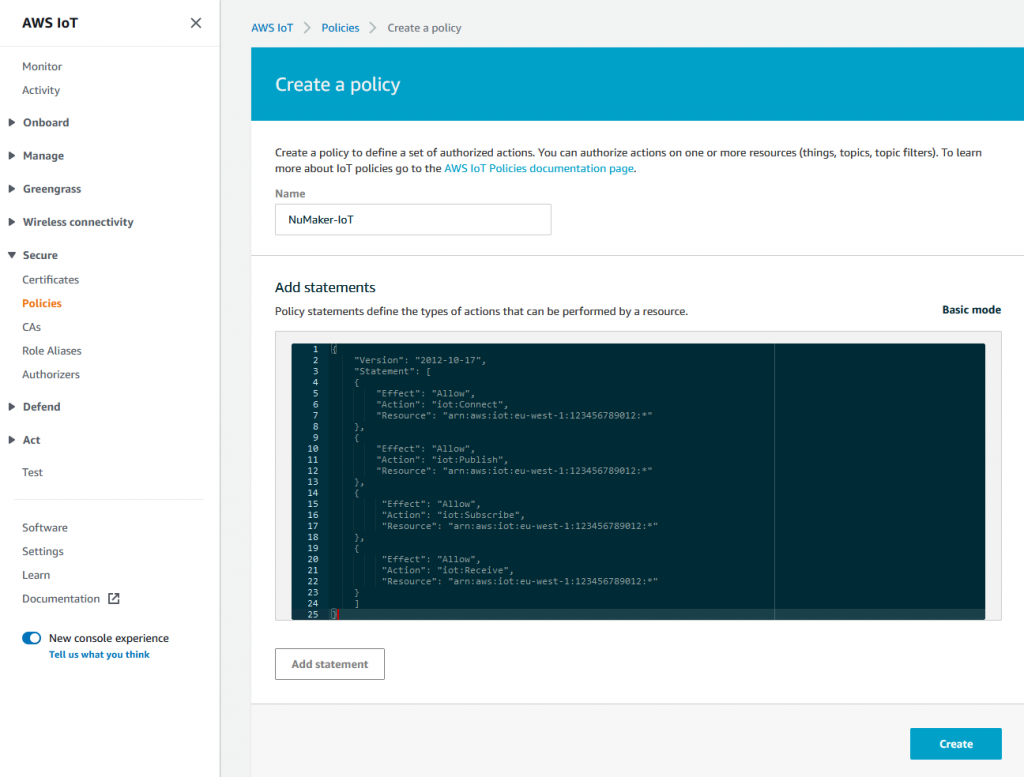
From the navigation pane on the left, click Secure > Policies and then click the Create button from the top right. Enter a name for your policy and in the Add statements section, click advanced mode.
Copy and paste the following JSON and replace aws-region and aws-account with your AWS Region and account ID:
{
    "Version": "2012-10-17",
    "Statement": [
    {
        "Effect": "Allow",
        "Action": "iot:Connect",
        "Resource":"arn:aws:iot:aws-region:aws-account-id:*"
    },
    {
        "Effect": "Allow",
        "Action": "iot:Publish",
        "Resource": "arn:aws:iot:aws-region:aws-account-id:*"
    },
    {
         "Effect": "Allow",
         "Action": "iot:Subscribe",
         "Resource": "arn:aws:iot:aws-region:aws-account-id:*"
    },
    {
         "Effect": "Allow",
         "Action": "iot:Receive",
         "Resource": "arn:aws:iot:aws-region:aws-account-id:*"
    }
    ]
}
For example:
"Resource": "arn:aws:iot:eu-west-1:123456789012:*"This policy grants the following permissions:
iot:Connect- Grants your device the permission to connect to the AWS IoT message broker with any client ID.
iot:Publish- Grants your device the permission to publish an MQTT message on any MQTT topic.
iot:Subscribe- Grants your device the permission to subscribe to any MQTT topic filter.
iot:Receive- Grants your device the permission to receive messages from the AWS IoT message broker on any MQTT topic.
Once complete, click the Create button:
Create an AWS IoT Thing #
We now need to create a thing in the IoT Console that will allow our device to connect – as mentioned before, we need a thing for every single device that need to connect.
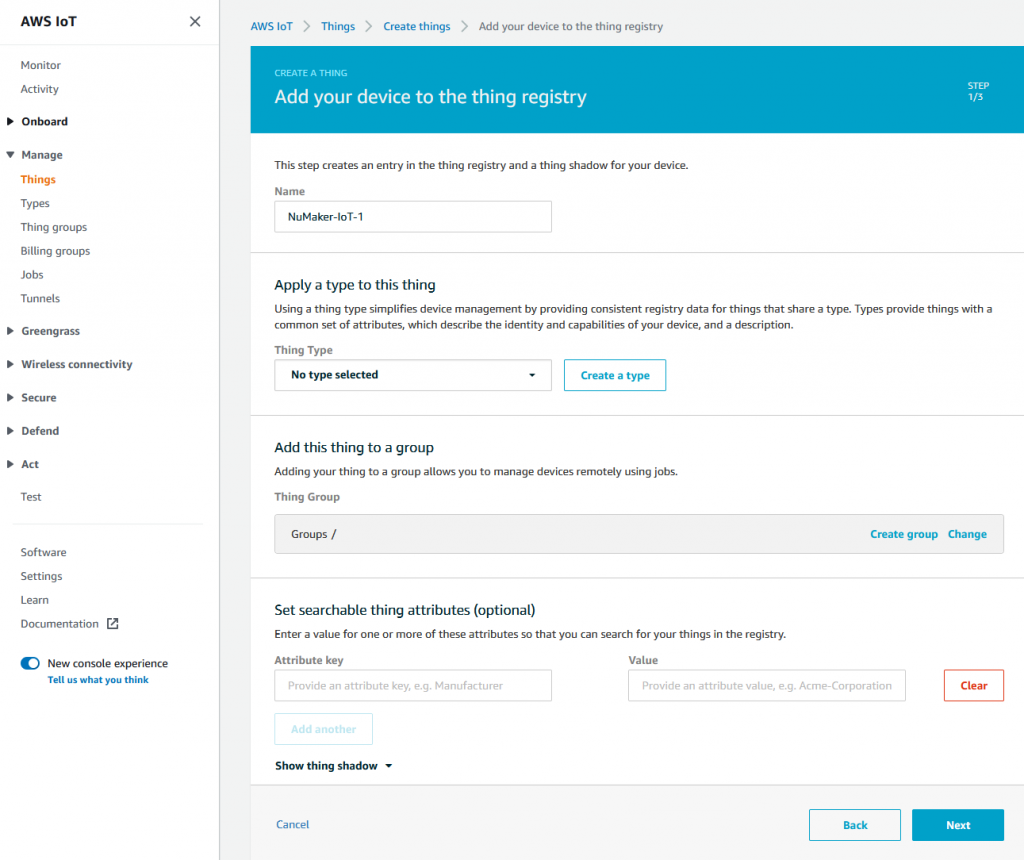
In the navigation pane on the left select Manage > Things. If you don’t have any existing devices, select Register a thing, otherwise click the Create button. Next select Create a single thing and then on the next page enter a name for your device and click Next:
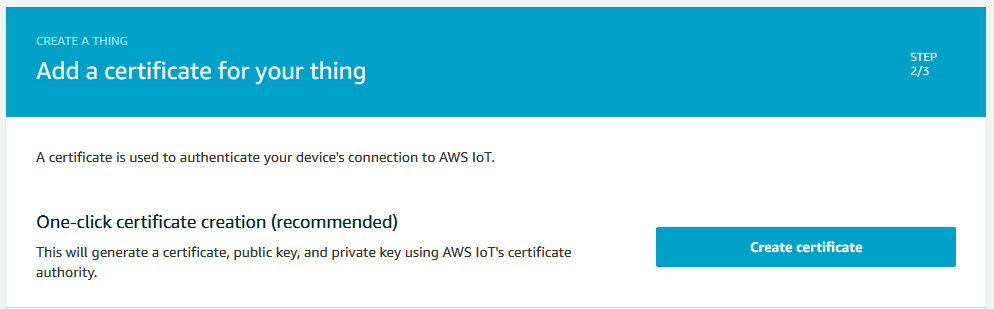
On the next page we need to choose the certificate we’ll be using to authenticate this thing. In my case, I don’t have an exisiting key pair to use so I’m going to ask AWS to create me one. Click the Create certificate button next to One-click certificate creation (recommended):
On the next page, download the certificate and private key, in my case this is 7602ee04f8.cert.pem and 7602ee04f8.private.key:
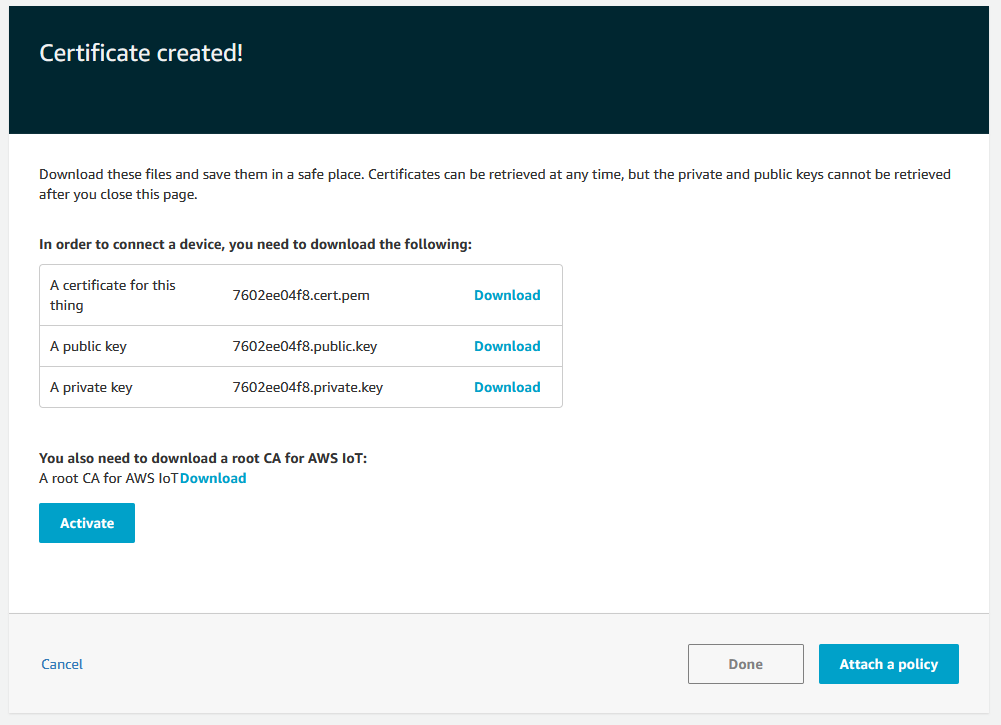
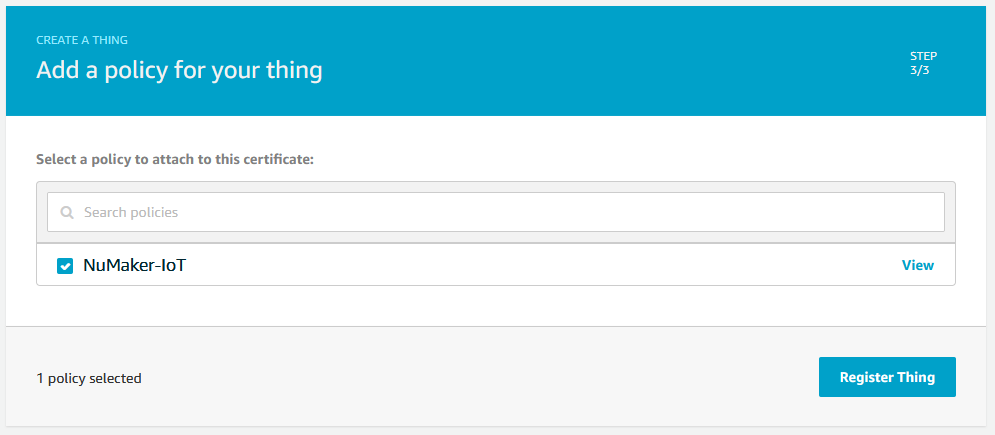
Once done click the Attach a policy button. Next we need to attach a policy to our certificate that grants our device access to AWS IoT operations. Select the policy we just created and click the Register thing button:
Conclusion #
That’s everything we need to do to setup our AWS account for our devices to connect and for AWS to recognise and authenticate them.


